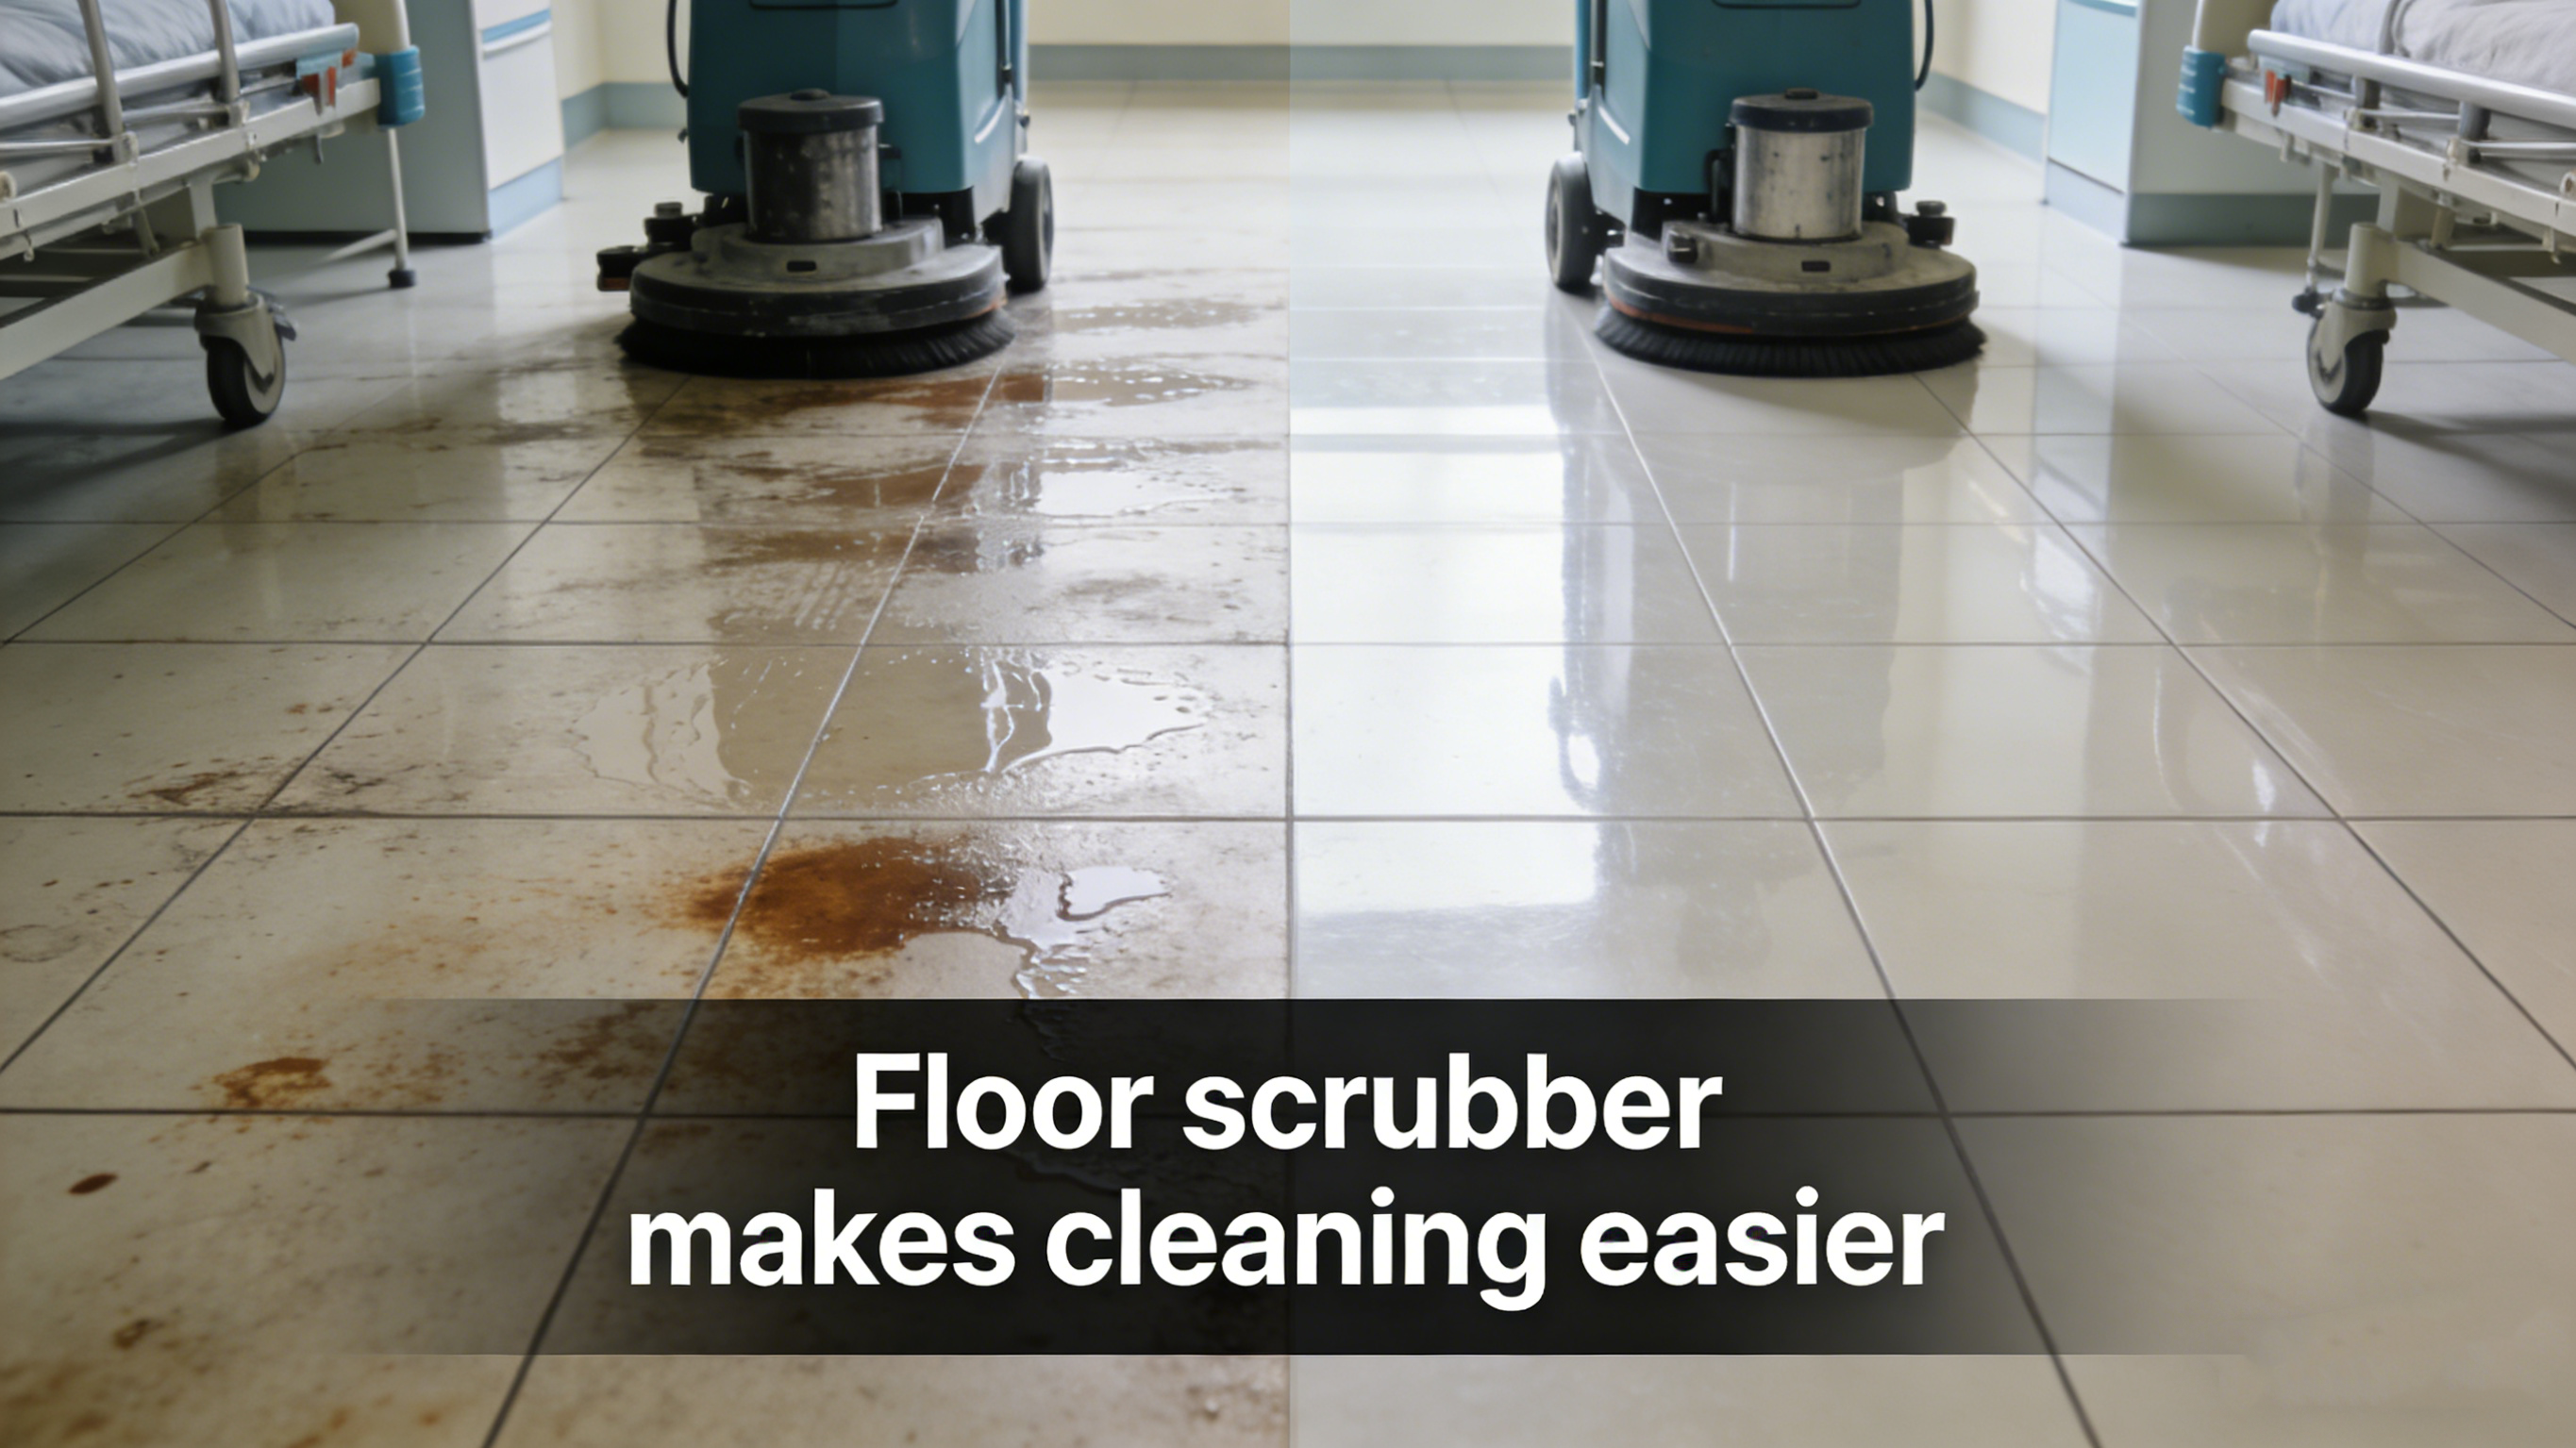
For anyone responsible for maintaining large floor areas cleaning—whether in a commercial warehouse, a school corridor, a hospital ward, or even a spacious residential garage—the traditional mop and bucket method is an exercise in inefficiency. It is labor-intensive, inconsistent in its results, and can leave floors dangerously wet.
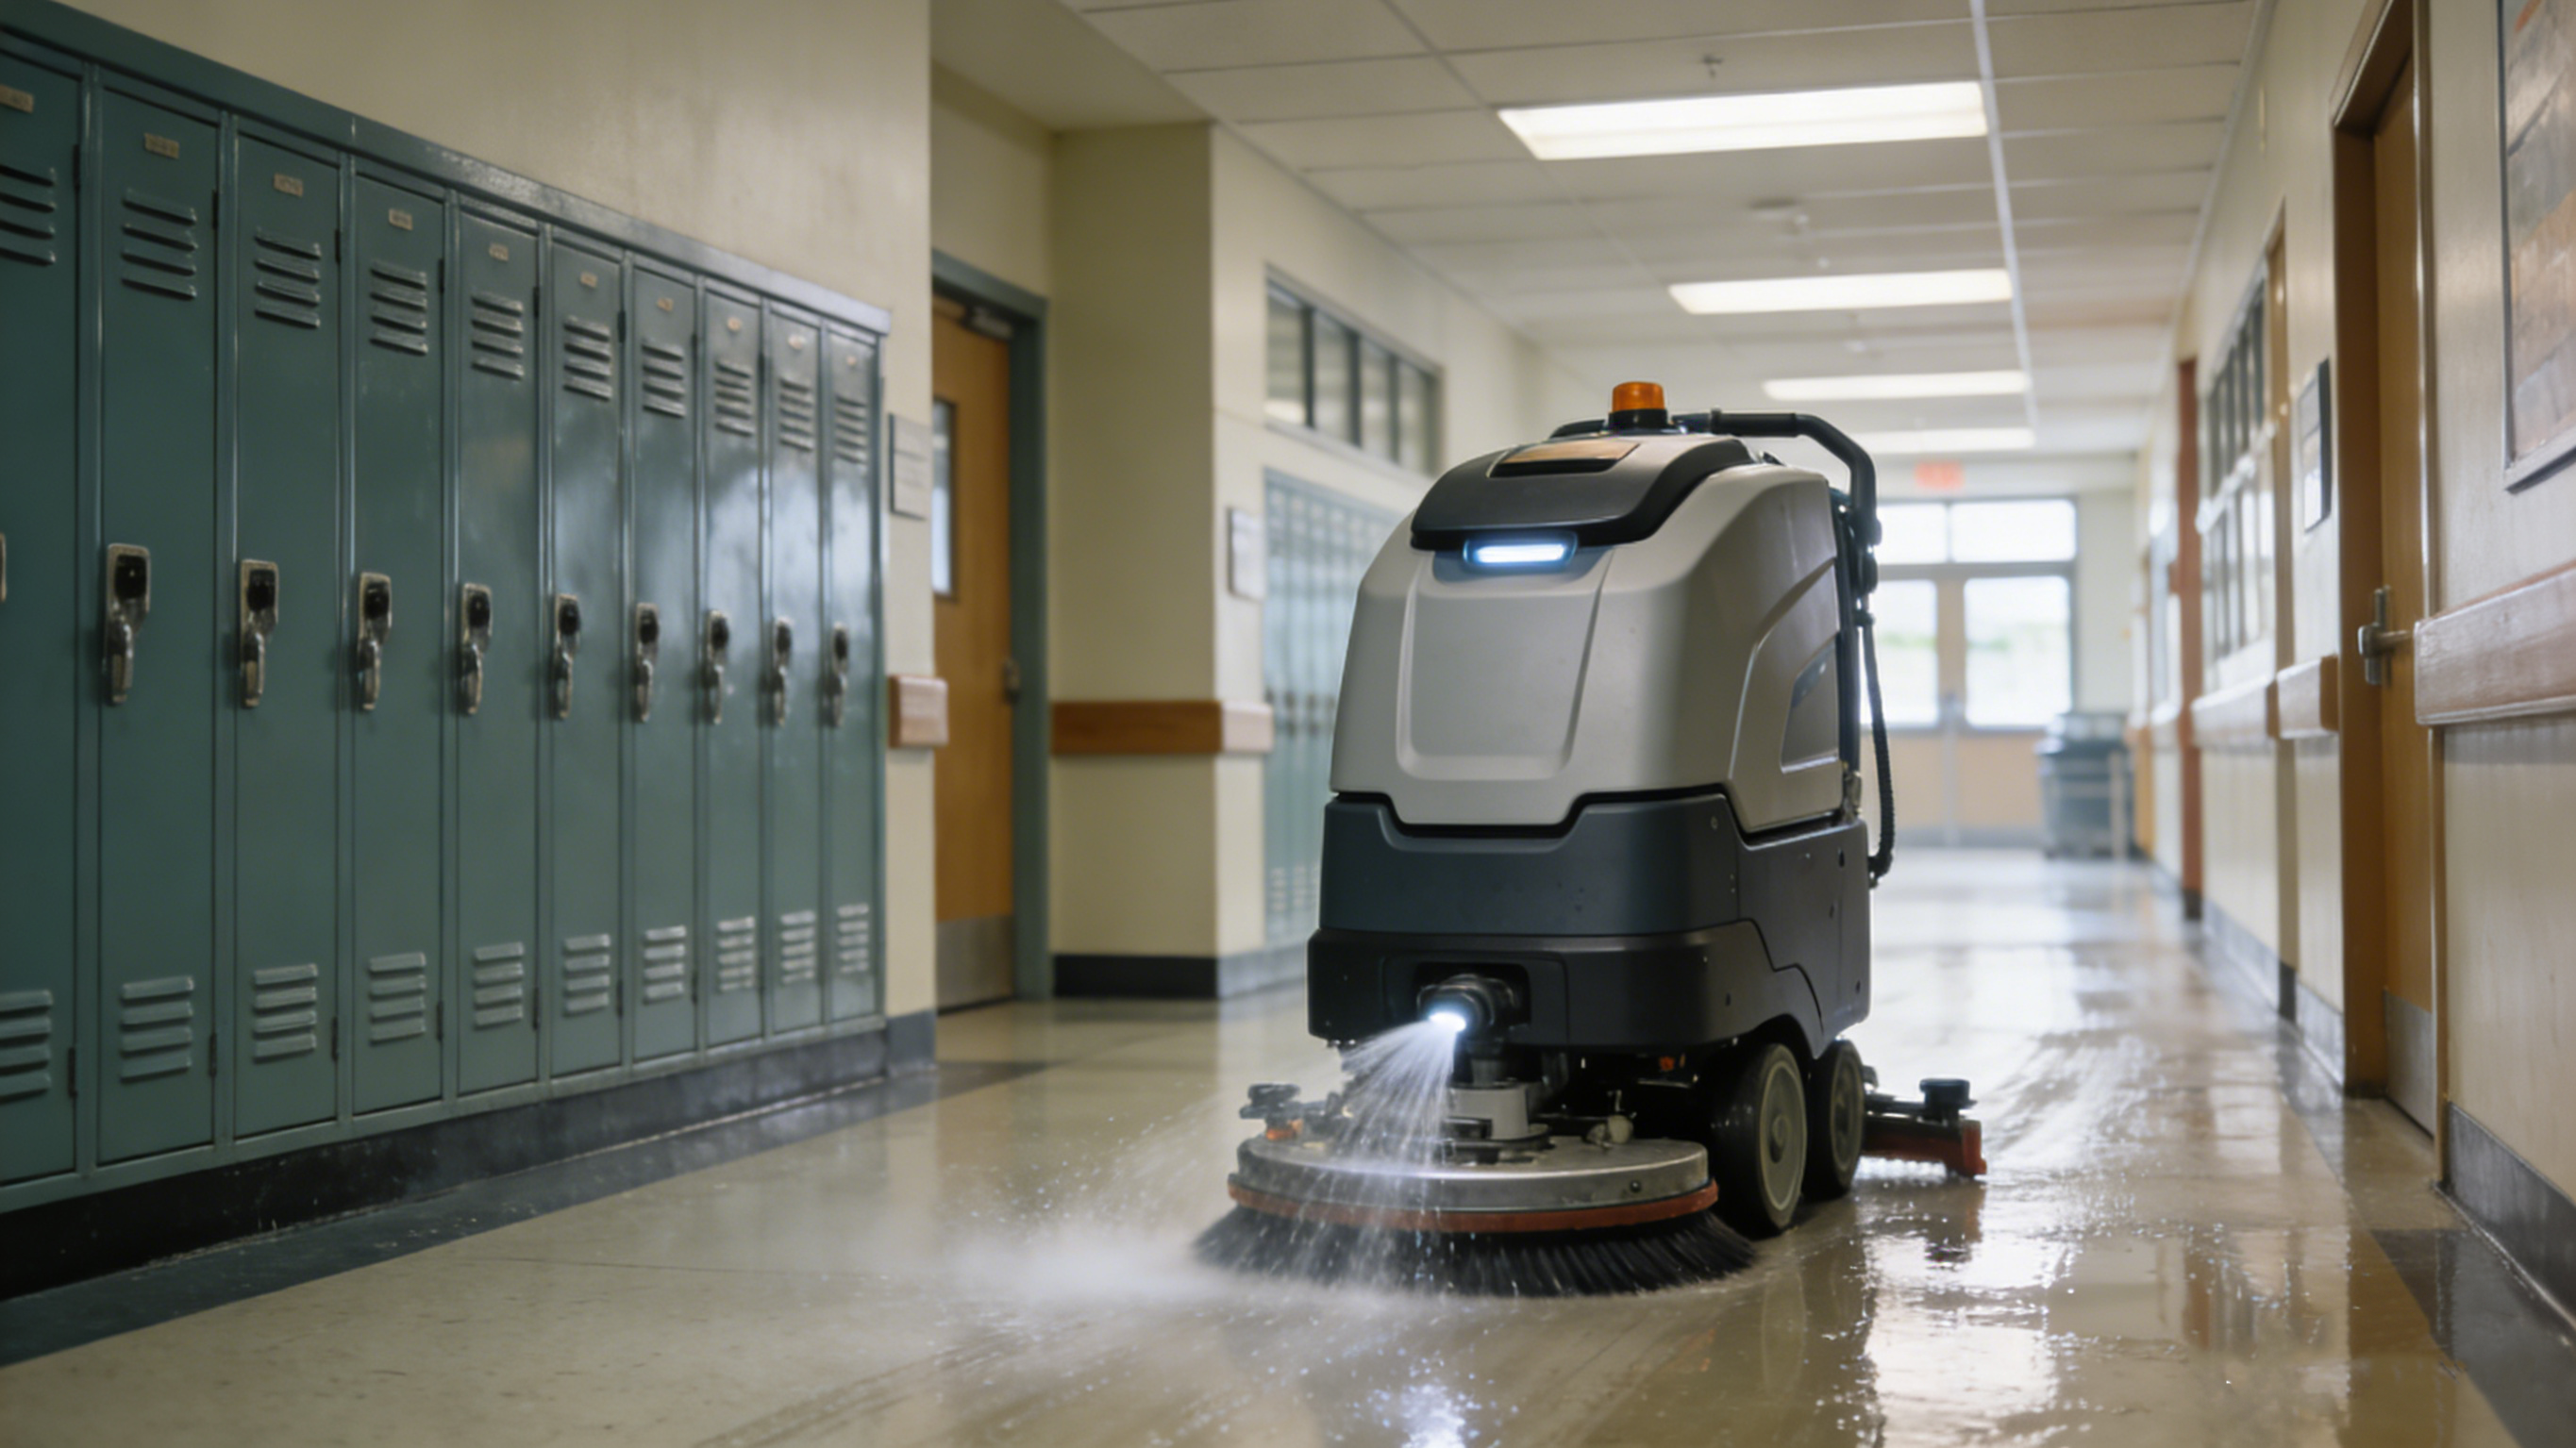
The modern floor scrubber has revolutionized this essential task. These powerful machines combine washing, scrubbing, and drying into a single, automated pass, delivering a level of cleanliness and shine that manual methods simply cannot match. However, to unlock this potential and ensure the safety of both the operator and the machine, proper operation is non-negotiable.
This comprehensive guide is designed to take you from unboxing your first floor scrubber to achieving professional-grade results. We will move beyond the basic instruction manual to cover the essential principles of operation, step-by-step procedures for every phase of the job, and advanced techniques for troubleshooting and optimization. Whether you are using a compact walk-behind model for a retail store or a large ride-on machine for an airport terminal, the core operational logic remains the same.
Understanding this logic—how the solution is applied, how the brushes agitate, and how the vacuum recovers dirty water—is the key to using the machine effectively, not just operating it. We will also emphasize critical safety protocols to prevent accidents and maintenance routines to protect your investment, ensuring your floor scrubber remains a reliable asset for years to come.
Part 1: Understanding Your Machine - Key Components and Their Functions
Before you press the start button, it is crucial to understand the main components of a typical floor scrubber and what they do. While designs vary, the core system is universal.
The Solution System: This is where the cleaning begins. It consists of a clean water tank, a solution pump, and spray nozzles (often called the solution manifold). The clean water tank holds fresh water, which can be mixed with a specialized cleaning detergent. The pump draws this solution and delivers it to the nozzles located just in front of the scrubbing brushes, applying a precise, even coat onto the floor.
The Scrubbing Assembly: This is the heart of the cleaning action. It includes one or more brushes or pads (the "scrub head") that rotate at high speed. These are mounted on a brush deck that can often be lowered or raised by the operator. The brushes physically agitate the floor surface, loosening dirt, grime, and stains in conjunction with the cleaning solution. Brushes come in various materials (e.g., abrasive pads for stripping wax, soft brushes for polished floors) to match the cleaning task.
The Recovery System: This component performs the critical drying function. It consists of a squeegee assembly at the rear of the machine, a recovery tank (or "dirty water tank"), and a vacuum motor. As the machine moves forward, the squeegee blades (made of flexible rubber or vinyl) seal against the floor, lifting the now-dirty solution. The powerful vacuum motor sucks this slurry up through a hose and deposits it into the recovery tank, leaving a clean, nearly dry surface behind.
Drive and Control System: This varies by model. Walk-behind scrubbers are propelled by a drive motor, controlled by a handle with buttons or a thumb lever for forward/reverse and speed. Ride-on scrubbers have a cockpit with steering controls, acceleration pedals, and dashboard displays.
Part 2: The Pre-Operation Checklist - Safety and Preparation
A successful and safe cleaning session depends entirely on thorough preparation. Never skip this stage.
1. Personal Protective Equipment (PPE): Always wear appropriate PPE. This minimally includes slip-resistant safety shoes to prevent falls on wet floors and safety glasses to protect your eyes from potential splashes of cleaning solution or debris.
2. Area Preparation:
Clear the Floor: Remove all portable obstacles such as chairs, waste bins, mats, and cords. A clear path is essential for efficient, streak-free operation and prevents damage to the machine or objects.
Sweep or Dry Mop: For heavily soiled areas, always dry sweep or vacuum first. A floor scrubber is designed to clean, not to pick up large debris like pebbles, paper clips, or excessive dust, which can clog the recovery system and damage the squeegee.
3. Machine Inspection & Setup:
Check Fluid Levels: Verify that the clean water tank is filled with water (and the correct type/dosage of detergent, if used). Ensure the recovery tank is empty.
Inspect Brushes/Squeegee: Examine the scrubbing brushes or pads for wear and ensure they are securely attached. Check the squeegee blades for cracks, nicks, or excessive wear, and confirm they are properly aligned to make a full seal on the floor.
Power & Cords: For battery-powered models, check the battery charge. For corded electric models, ensure the cord is in good condition and plan your cleaning path to avoid running over it.
Part 3: The Step-by-Step Operational Procedure
Follow this sequence for a standard cleaning pass. Always consult your specific model's manual for detailed instructions.
Step 1: Machine Positioning & Start-Up
Position the scrubber at the edge of the area you wish to clean, typically in a corner. For walk-behind models, lower the scrub head and squeegee assembly onto the floor using the control lever. Turn the key or press the main power switch to activate the machine's electrical systems.
Step 2: Engage Scrubbing and Solution Flow
Begin moving the machine forward slowly. As you move, engage the brush control to start the brushes rotating. Simultaneously, engage the solution control (often a trigger or button on the handle) to start spraying cleaning solution onto the floor in front of the brushes. Maintain a steady, overlapping pattern, much like mowing a lawn.
Step 3: The Cleaning Pass
The machine should be moving at a consistent, slow-to-moderate pace—typically 2-3 miles per hour is effective. The vacuum motor for the recovery system usually engages automatically when the brushes and solution are on. Focus on keeping overlaps between passes to ensure no strips are missed. For large areas, work in manageable sections.
Step 4: Shutting Down and Post-Clean
Once you have finished the area, release the solution trigger to stop the flow. Allow the machine to make one final forward pass without a solution to pick up the remaining water. Then, disengage the brushes. Raise the scrub head and squeegee assembly off the floor before driving the machine to its storage or dumping location.
Part 4: Advanced Techniques for Optimal Results
Mastering the basics allows you to employ techniques that enhance efficiency and tackle specific challenges.
Choosing the Right Brush or Pad: The scrub head is your tool. Selecting the correct one is paramount.
Hard Brushes (Nylon): For removing heavy, caked-on dirt on concrete or sealed warehouse floors.
Soft Brushes (Polypropylene): For daily cleaning of polished concrete, vinyl composite tile (VCT), or epoxy floors without scratching.
Stripping Pads (Abrasive): Used specifically with a stripper chemical to remove old layers of wax or finish.
Buffing Pads (Soft, high-speed): Used with a burnisher or high-speed scrubber to polish a floor to a high-gloss shine.
Managing Solution Chemistry: "More" is not better. Always follow the detergent manufacturer's dilution ratio instructions. Over-concentration leaves sticky residues that attract dirt, while under-concentration is ineffective. For light cleaning, you may only need clean, hot water.
Dealing with Stubborn Stains: For localized stains, you can use a spot-cleaning technique. Stop the machine over the stain, engage the brushes and a short burst of solution, and allow the machine to scrub in place for 10-15 seconds before moving on.
Efficiency in Large Spaces: For very large, open areas, plan a "long pass" strategy. Start along the perimeter and then work in long, straight, overlapping lanes to minimize turns and operator fatigue.
Floor Scrubber Configuration Guide for Common Surfaces
| Floor Surface Type | Recommended Brush/Pad Type | Solution/Deterrent Tip | Machine Speed & Technique |
| Polished Concrete / Epoxy | Soft (white or tan) brush or soft red pad. | Use a neutral pH cleaner designed for sealed floors. | Steady, medium speed. Avoid scrubbing in place for too long. |
| Vinyl Composite Tile (VCT) / Linoleum | Soft to medium (green) brush or pad. | Use a dedicated floor finish cleaner; avoid harsh chemicals. | Consistent, overlapping passes. Keep solution flow moderate. |
| Unglazed / Porcelain Tile | Medium (green or white) brush. May require a stiffer brush for grout lines. | A mildly alkaline cleaner can help with grout. Consider a grout brush attachment. | Slower speed may be needed for deep grout cleaning. |
| Industrial Concrete (Sealed) | Medium to hard (black or brown) nylon brush. | Heavy-duty alkaline degreaser for oil/grease stains. | Can handle faster speeds. Ensure good solution penetration. |
| Industrial Concrete (Unsealed) | Very stiff brush or abrasive pad. | Be cautious with water volume to avoid over-saturation. | May require multiple passes. Recovery system must be efficient. |
Part 5: Post-Use Maintenance: Ensuring Longevity
Proper cleaning and maintenance of the scrubber itself are as important as cleaning the floor. Neglect leads to breakdowns and odors.
1. Empty and Rinse the Tanks: Immediately after use, drain the recovery tank into a floor drain or approved sanitary sewer. Rinse it thoroughly with clean water to prevent sludge buildup and bacterial growth that causes foul smells. Rinse the solution tank if you used detergent.
2. Clean the Squeegee and Brushes: Remove the squeegee assembly and rinse the blades clean. Inspect for damage. Remove the brushes or pads, rinse off debris, and allow them to air dry completely before storage to prevent mildew.
3. Check and Clean Filters: Many machines have a float filter or condenser filter for the vacuum system. Clean these according to the manual (usually rinsing with water) to maintain peak suction power.
4. Battery Care (if applicable): For battery-powered models, recharge the batteries fully after each use. Keep battery terminals clean and check water levels in lead-acid batteries as per instructions.
5. General Wipe-Down and Storage: Wipe the entire machine down with a damp cloth to remove dust and solution splashes. Store it in a clean, dry location with the scrub head and squeegee raised off the ground.
Part 6: Troubleshooting Common Issues
Even with perfect operation, issues can arise. Here’s how to diagnose common problems:
Problem: Streaks or Water Lines Left Behind.
Likely Cause: Worn or misaligned squeegee blades, a clogged vacuum hose, or a full recovery tank.
Solution: Check and replace squeegee blades, clear any blockages in the hose or filter, and ensure the recovery tank is emptied.
Problem: Poor Cleaning Performance (Dirt Left on Floor).
Likely Cause: Worn-out brushes, incorrect brush type, insufficient solution flow, or the machine speed is too fast.
Solution: Replace brushes, ensure the correct brush for the floor, check the solution pump and nozzles for clogs, and slow down your operating speed.
Problem: Machine Leaves Solution Behind (Poor Pickup).
Likely Cause: The recovery tank is full, the vacuum motor filter is clogged, the squeegee is not sealed, or there is a leak in the vacuum hose.
Solution: Empty recovery tank, clean the filter, inspect and adjust/replace the squeegee, and check all hoses for cracks or loose connections.
Problem: Unusual Noise or Vibration.
Likely Cause: A foreign object stuck in the brush deck, a damaged brush bearing, or an issue with the drive system.
Solution: Immediately turn off the machine. Visually inspect the brush deck for obstructions like a lost screw or wire. If nothing is visible, contact a technician.
Conclusion: Mastering the Tool for Professional Outcomes
A floor scrubber is a significant investment in time, efficiency, and facility presentation. Its value is realized not just through purchase, but through skilled operation and diligent care. By methodically following the procedures of preparation, operation, and maintenance outlined in this guide, you transition from being an operator to being a technician.
You will consistently achieve floors that are not merely clean, but professionally cleaned—safe, dry, and visually impressive. Remember, the manual specific to your model is your primary resource; use it in conjunction with these universal principles. With knowledge and practice, your floor scrubber will become one of the most reliable and effective tools in your maintenance arsenal, paying dividends in saved labor and superior results for years to come.


